


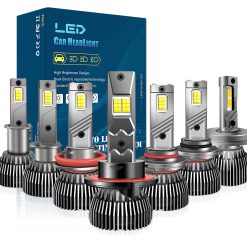
POCYBER H7 Super Bright LED Bulbs 30000LM 6500K White for Car Headlights/Fog Lights Replacement IP68 Waterproof 2 Pack
$44.99
🌠 Upgrade Your Night Driving Today!
With these LED headlight bulbs, you get:
✅ 600% brighter light for better visibility
✅ Simple plug-and-play installation in minutes
✅ Long-lasting durability with cutting-edge cooling technology
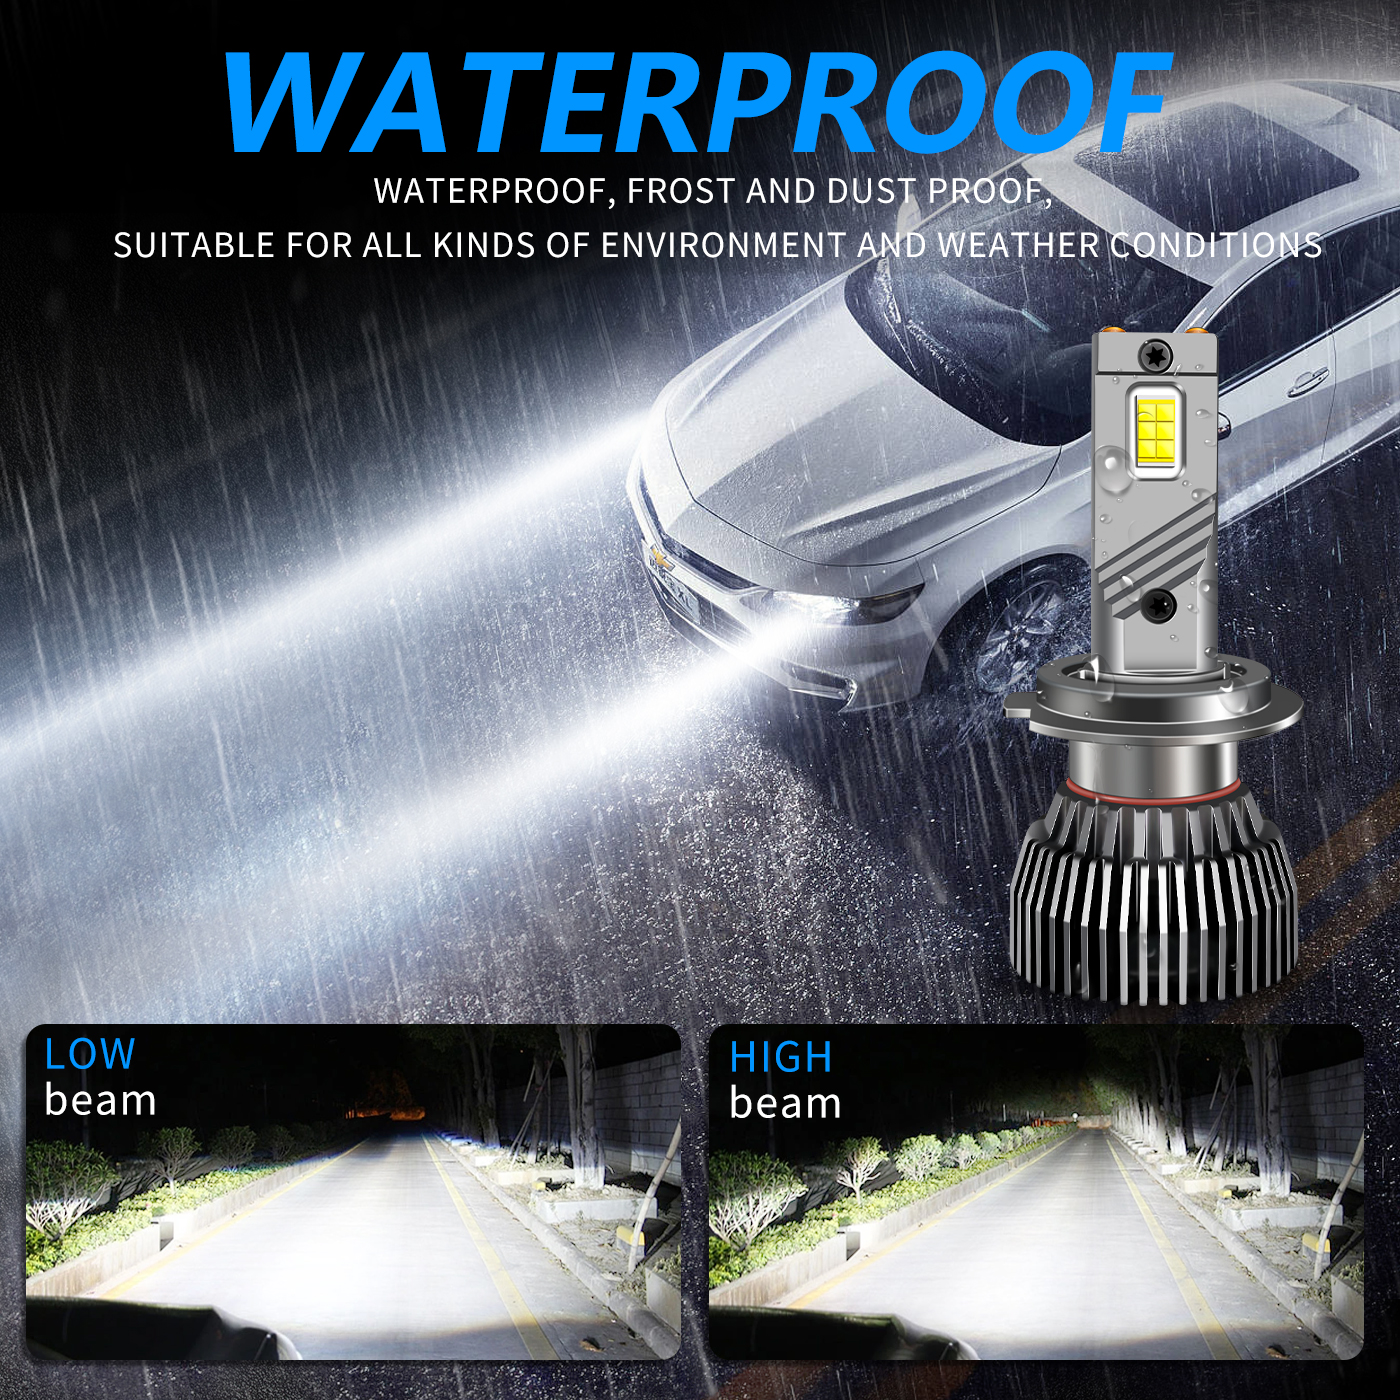
✅ Reliable performance in any weather, ensuring superior visibility in fog, rain, or darkness
⚠ Note: If unsure which Headlight Blub Style you should choose , please contact us before purchasing to confirm the right size.
⚡ Why Choose These LED Headlight Bulbs?
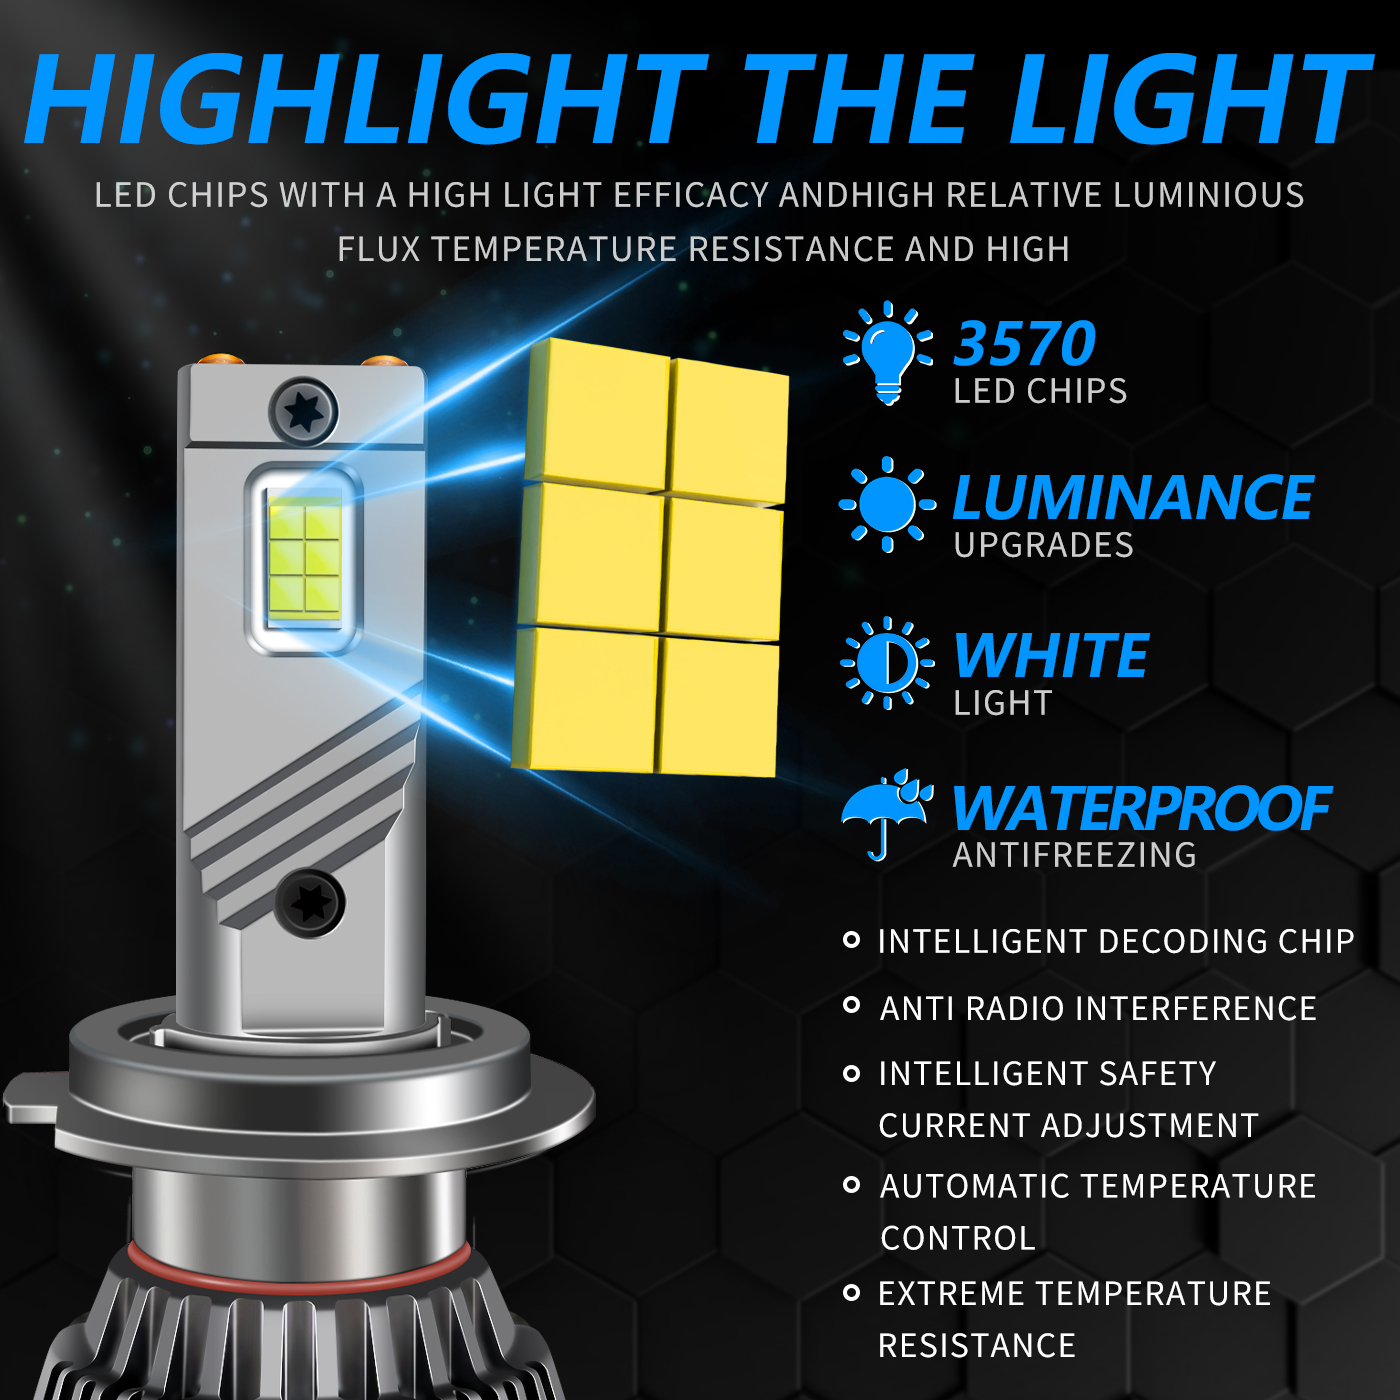
✅ Super Bright – 30,000LM, 6500K Cool White
Powered by top-grade automotive LED chips, these bulbs are 600% brighter than traditional halogens. The super-focused beam pattern offers wider and farther illumination with no dark spots or glare, making night driving safer and more comfortable.
✅ Long-Lasting Performance – 50,000+ Hours Lifespan
Designed for durability, these bulbs feature:
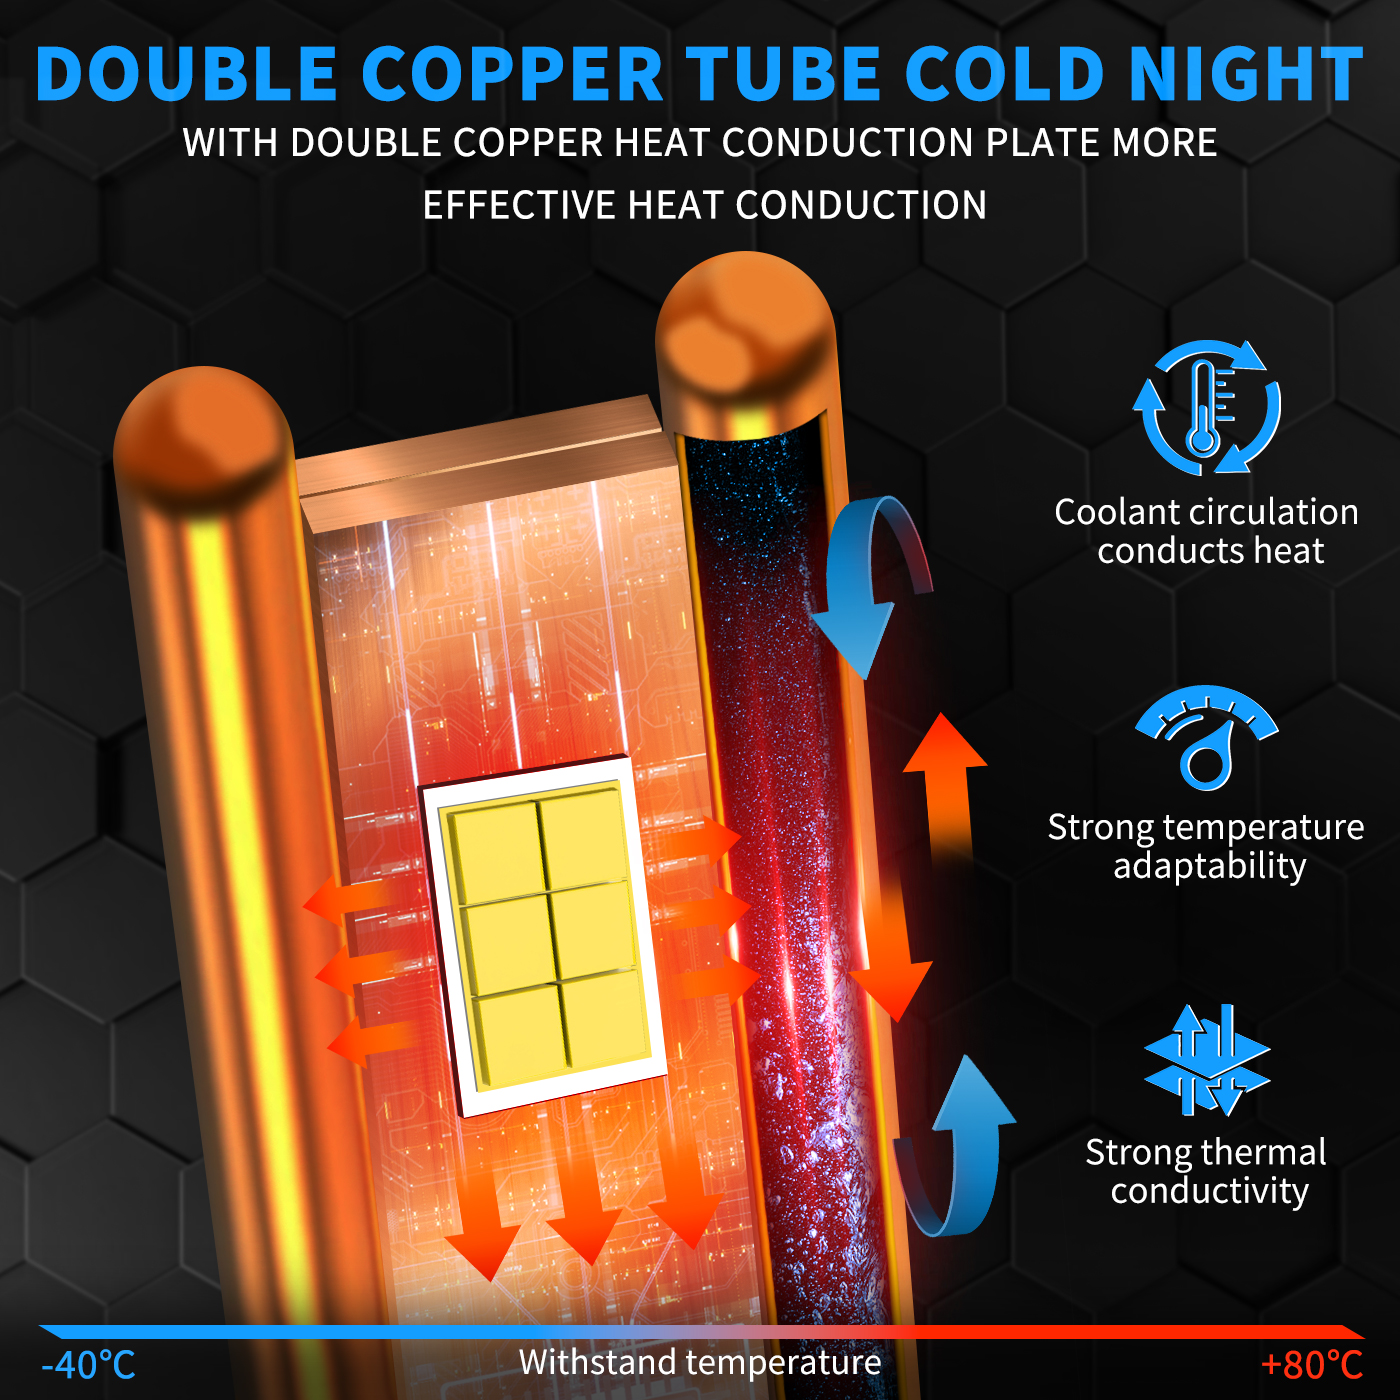
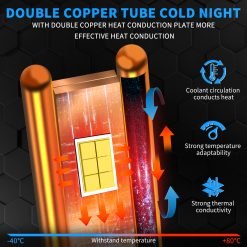
- Aviation-grade aluminum body for enhanced heat dissipation
- Hollow-carved heat sink to maximize airflow
- High-speed 12,000 RPM turbo fan for superior cooling
This advanced cooling system ensures the bulbs last up to 50,000+ hours — 10X longer than halogens!
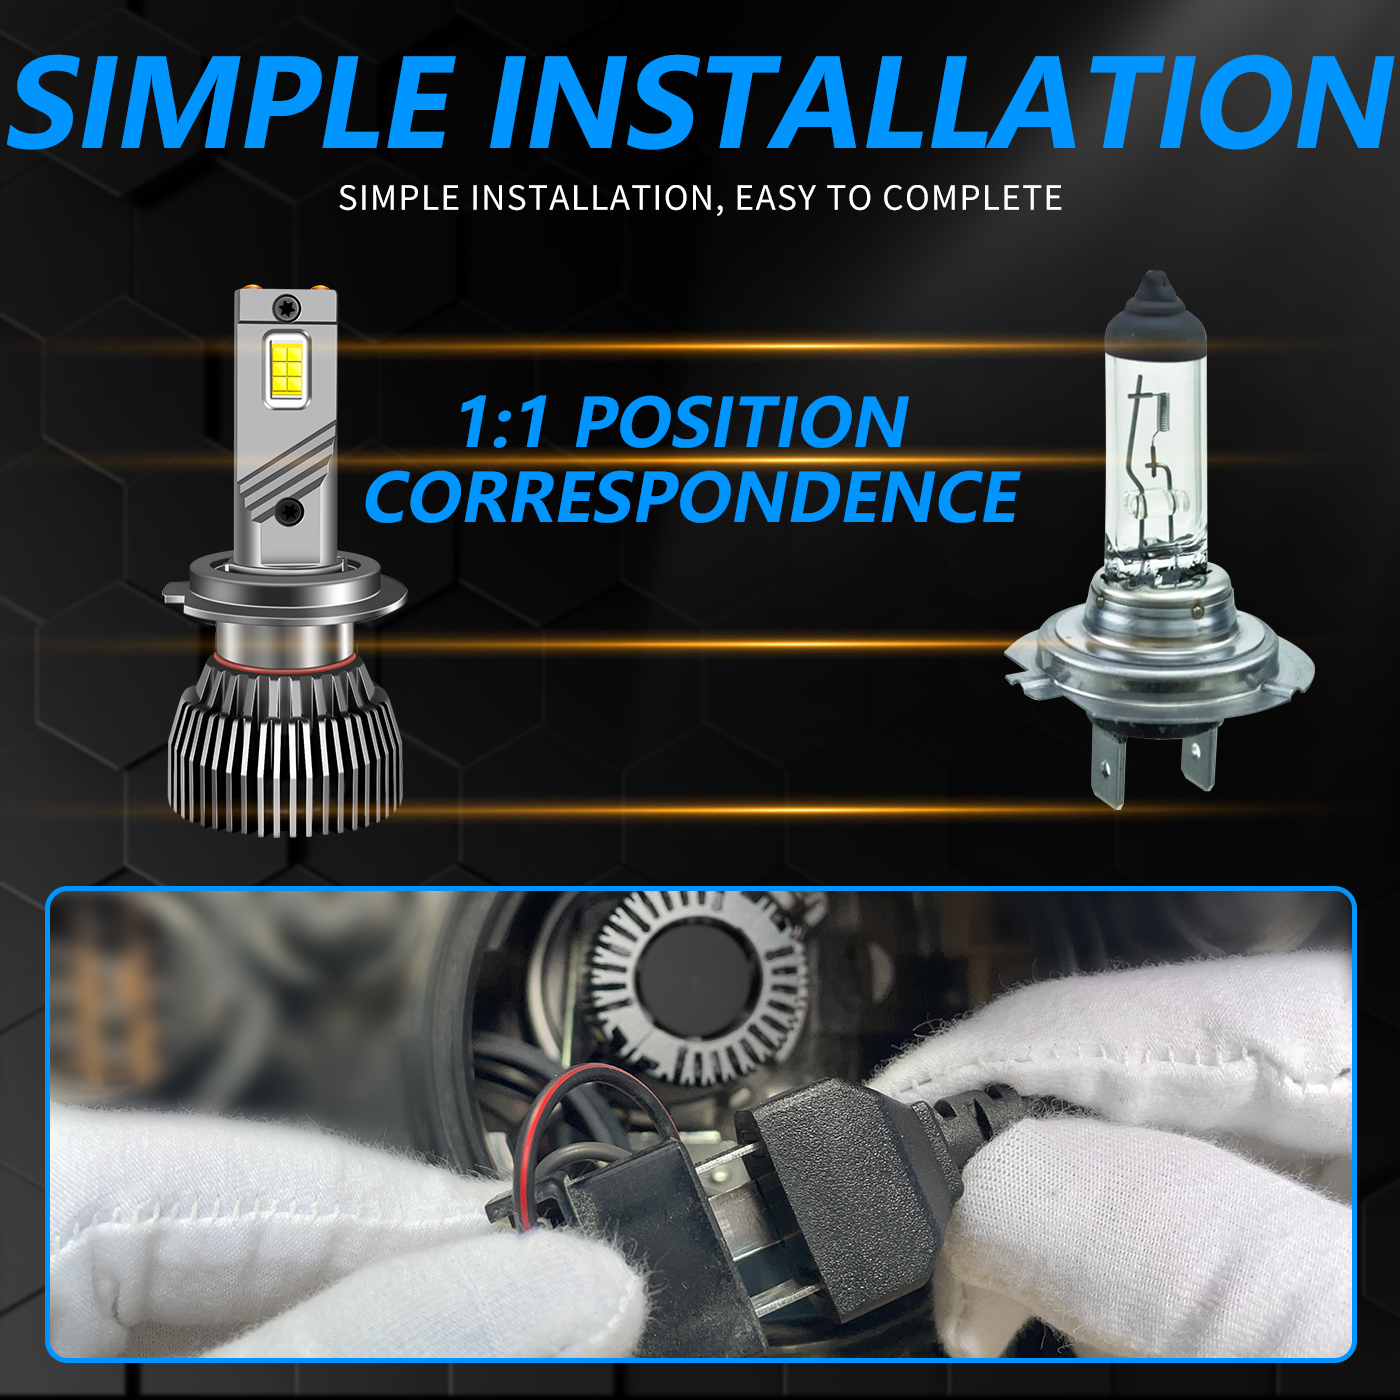
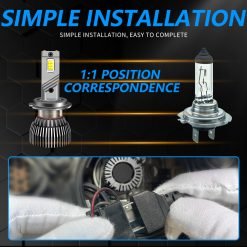
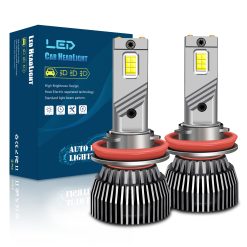
✅ Plug & Play – 10-Minute Installation
With a design almost identical to OEM halogen bulbs, installation is a breeze! Simply plug and play — no wiring modifications required.
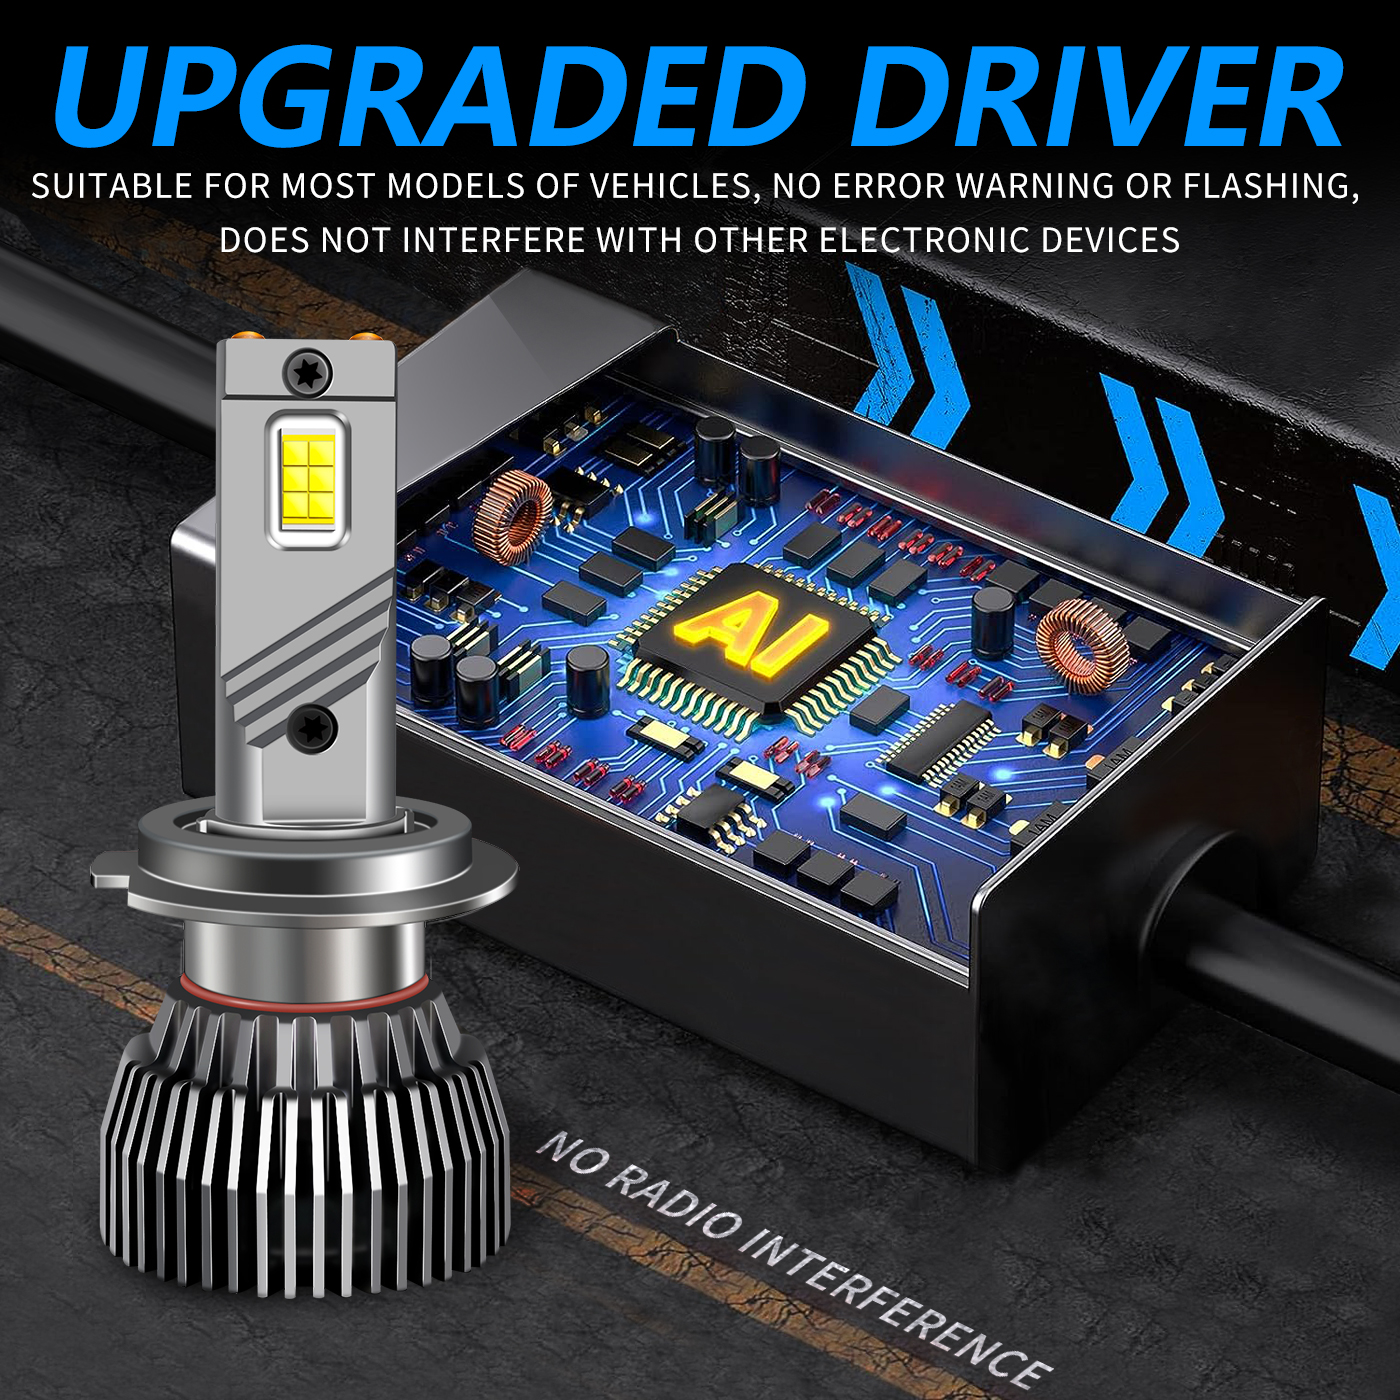
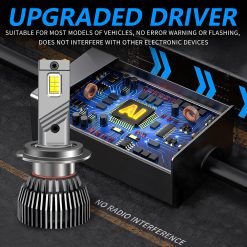
✅ CANBUS Ready – Error-Free for 98% of Vehicles
Designed with an upgraded smart IC driver, these bulbs work seamlessly with most vehicle computer systems. However, some sensitive models may require an additional CANBUS decoder (contact us if needed).
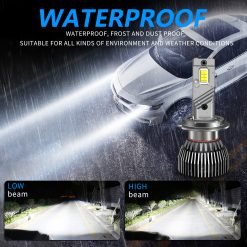
✅ IP68 Waterproof – Conquer All Conditions
Built to withstand rain, snow, dust, and extreme temperatures (-45°C to +150°C), these bulbs ensure reliable performance in any weather.
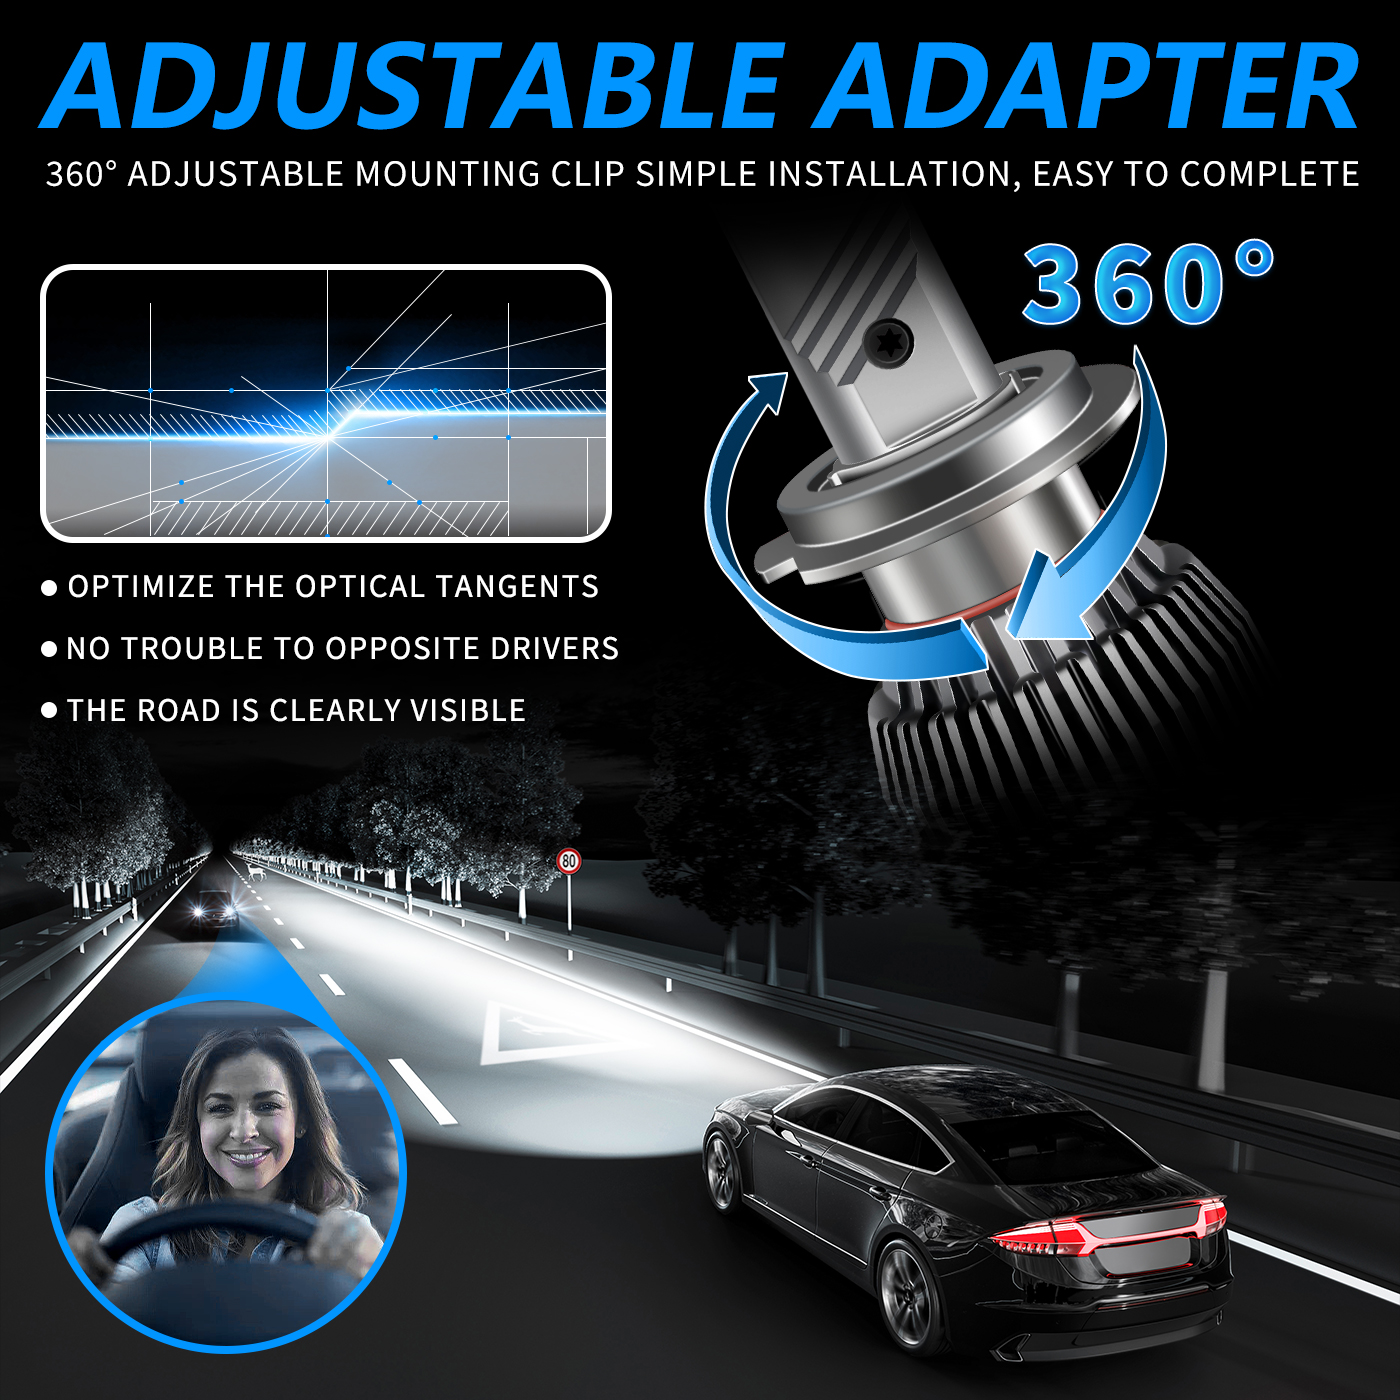
✅ 360° Adjustable Design
The adjustable locker ring lets you fine-tune the beam pattern for optimal road coverage and reduced glare for oncoming traffic.
📋 Specifications:
- Model: M6
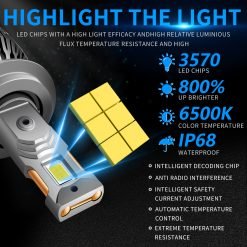
- Chip: 3570(6*55mil)
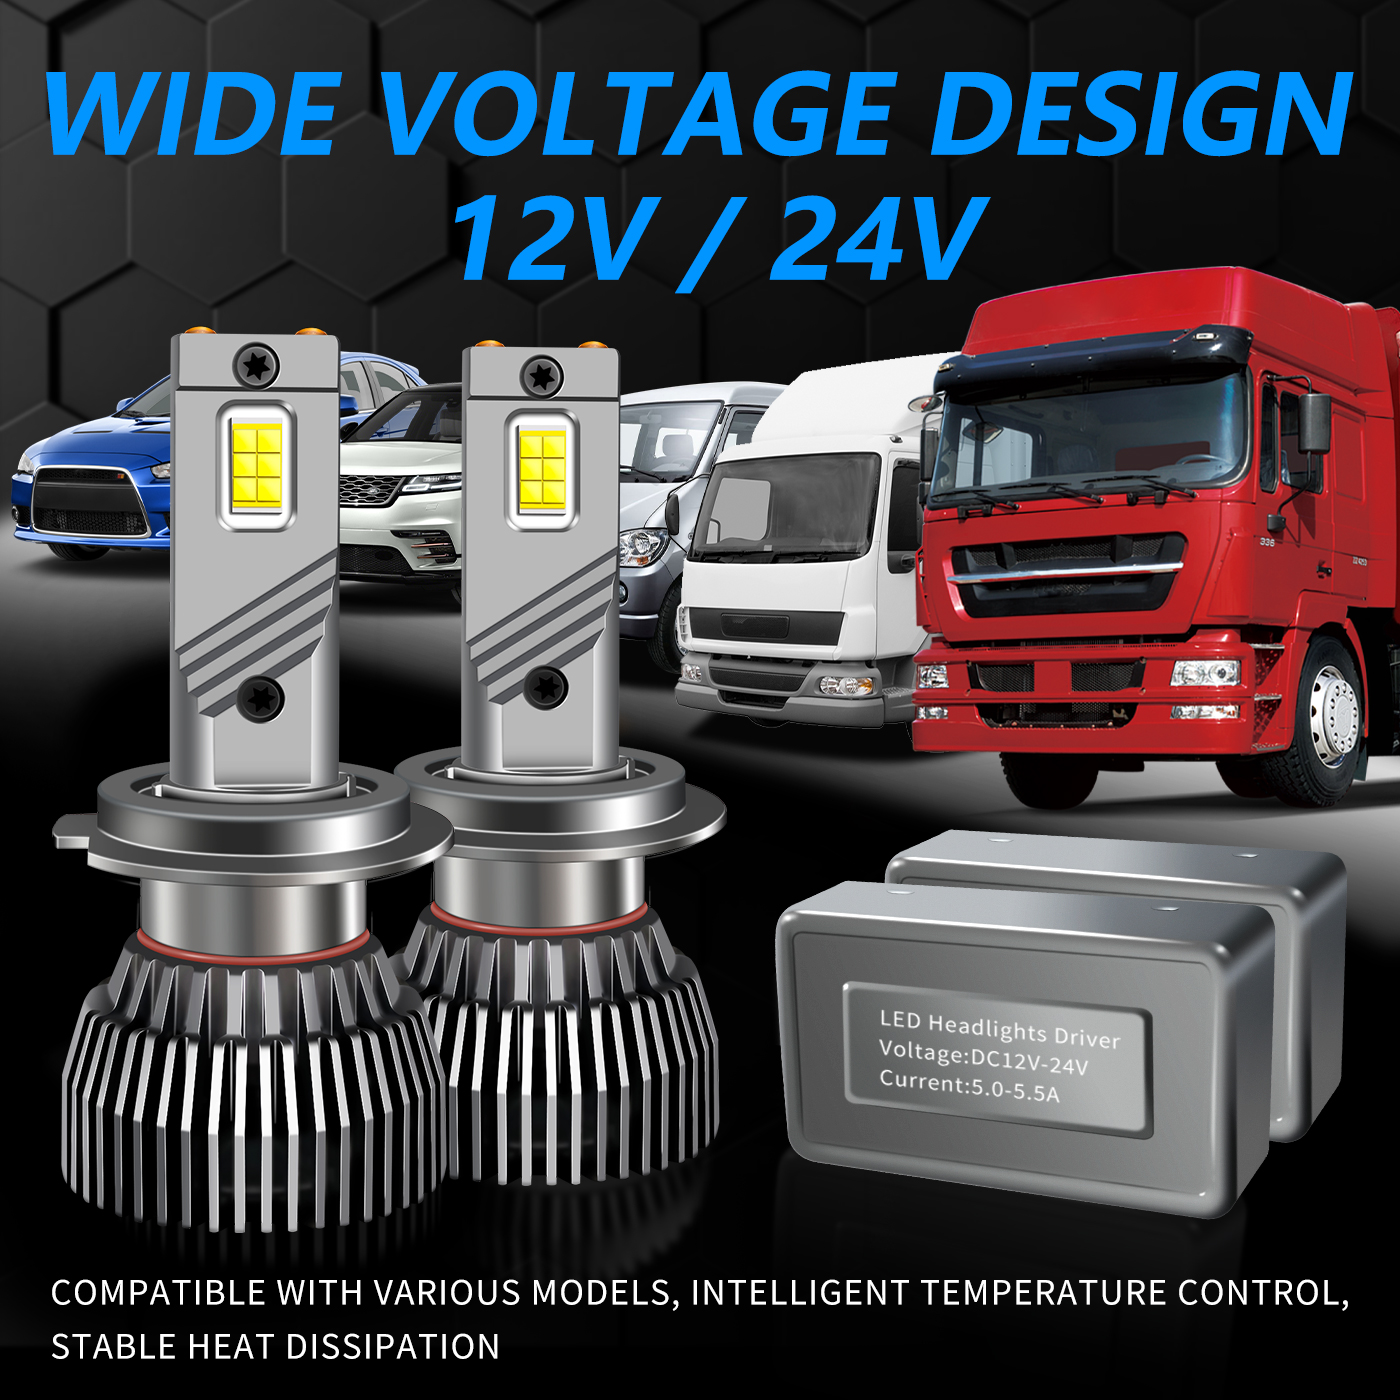
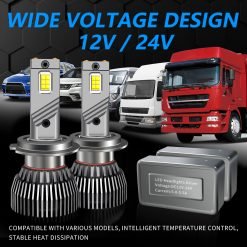
- Voltage: DC 12V 24V
- Color Temperature: 6500K Cool White
- Lumen Output: 30,000LM (per set)
- Power: 130W per set
- Lifespan: Up to 50,000 hours
- Waterproof Rating: IP68
- Operating Temperature: -45℃ to +150℃
- Cooling System: 12,000 RPM turbo fan + aviation aluminum heat sink
📦 What’s Included:
✔ 2 × LED Headlight Bulbs
🔧 How to Choose the Right Bulb Size:
1️⃣ Check your vehicle’s manual or the part number on your original bulbs.
2️⃣ Use the vehicle filter to confirm compatibility.
3️⃣ Search “Automotive Bulb Guide” online for further verification.
⚠ Note: If unsure which Headlight Blub Style you should choose , please contact us before purchasing to confirm the right size.
💬 Frequently Asked Questions:
Q: How do I know if these bulbs fit my vehicle?
A: Check your vehicle’s manual, use the filter system on this page, or search “Automotive Bulb Guide” online. Still unsure? Contact us!
Q: What if I get dashboard errors or flickering lights?
A: Some sensitive vehicles may need a CANBUS decoder. Let us know if you experience this, and we’ll help you find the right solution.
Q: How do I install these bulbs?
A: Installation is simple:
- Remove the old bulbs.
- Insert the new bulbs into the socket.
- Twist to lock and plug them in — done! 🚀
Q: How can I get a replacement if needed?
A: We stand behind our product. If you have any issues, message us, and we’ll help resolve the problem or send a replacement.
✨ Order now and experience the road in a whole new light! ✨
| Weight | 0.5 kg |
|---|
703 reviews for POCYBER H7 Super Bright LED Bulbs 30000LM 6500K White for Car Headlights/Fog Lights Replacement IP68 Waterproof 2 Pack
Only logged in customers who have purchased this product may leave a review.
Related products
LED Headlight Blubs


LED Headlight Blubs
H15 LED Headlight Bulbs – Dual Beam, 6000K Cool White, IP68 Waterproof (Pack of 2)
LED Headlight Blubs
30,000LM 6500K LED Headlight Bulbs – Super Bright, IP68 Waterproof, Pack of 2


The upgrade is absolutely worth the price, and the build quality seems solid. Can't comment on longevity yet, but I'll update if any issues arise. The extended warranty offered upon registration is a nice bonus, though I haven't needed to use it.
For reference, my vehicle has projector headlights. I intend to install POCYBER's H3 LEDs in the fog lamps to match the headlights. The photo shows the POCYBER H7 low beams with halogen H3 fog lights (visible as yellowish light at the bottom) on an unlit road.
This has been an excellent upgrade so far. Thanks POCYBER!
For my 2016 Mercedes C300, each wheel well has a plastic access panel. First, turn the wheels outward. Using a wide-blade screwdriver, loosen two plastic screws by turning them counterclockwise until the panel unlocks from the fender. Then lift and remove the panel.
Behind it, you'll find two dust covers per side. Remove the outer one by twisting counterclockwise. Next, grip the headlight assembly and rotate it 90 degrees counterclockwise to release it.
The trickiest part involved carefully prying the old bulb from its housing with a small screwdriver. Once loose, it detached easily.
Wearing latex gloves, I installed the new LED bulb (no polarity concerns) and tested it before final assembly. After confirming it worked, I secured the bulb assembly with a clockwise turn and reinstalled the dust cover.
Reattaching the wheel well panel required patience - align the bottom grooves first, then secure it by rotating the plastic tabs. Pro tip: If the tabs dislodge, press them flush before reinstallation.
After starting the car to verify both lights functioned, the brightness difference between the original halogen (left) and new LED (right) became immediately apparent.